Create and Add a Facebook Pixel to Flothemes
The following tutorial explains how you can create a Facebook pixel via FB Ad’s manager and how you can then add the pixel to your site for re-target marketing. We cover 2-pixel types, the Conversion Tracking Pixel and the Website Custom Audiences Pixel. Read more below on how to get started tracking and re-targeting your website audiences.
Conversion Tracking Pixel
Facebook has this amazing tool that helps you create Custom Audiences by tracking your users, called Pixel. This is by far, the most effective and useful feature created by Facebook for advertising. Basically, it’s a piece of code generated by Facebook, which you install on your website to track people who visit it and perform certain actions (make a purchase, sign up for a newsletter, etc). So, there are actually two types of pixels – the Conversion Tracking Pixel and the Website Custom Audience Pixel. Each does exactly what it sounds like. The Conversion Tracking Pixel lets you follow users that accessed your website through your Facebook Ads, and register their exact actions. Did they buy a product? Did they navigate through your portfolio? This helps evaluate the success of your ads (judging not by reach, but by actual conversions), get a clear idea of your ROI and future strategy.
So, how do you install a Facebook pixel? Well, it’s actually very easy to do. For the Conversion Tracking Pixel – go to your Ads Manager, and in the top left corner, under the tab Tools choose Conversion Tracking/Pixels (may differ depending on whether you’ve used pixels before). It will take you to a new window where you can see the list of your current pixels or you’ll see a green button for creating a new one.
![]()
![]()
When creating a pixel, you have a long list of options to choose from – depending on the type of conversion you want your pixel to track – users who viewed your products, who added products to their cart, who have or haven’t gone through check out, etc. If you want to track several actions, create a separate pixel for each action.
![]()
![]()
After Facebook generates that unique code for you, you will have to copy-paste it and install it on your website (on the pages where those actions take place). Learn how to install the pixel code here.
Custom Audiences Pixel
The second type of pixel is the Website Custom Audience Pixel – it follows all the visitors of your website and registers their Facebook user ID. This pixel is perfect for remarketing since it allows you to create Custom Audiences and show your Ads only to this specific group of people. Usually, Custom Audiences show the highest conversion rates, since these users are already familiar with your brand, have seen your website, and are more likely to follow you. Just keep in mind, focusing only on this group and annoying them with too many promo campaigns won’t always result in a positive outcome.
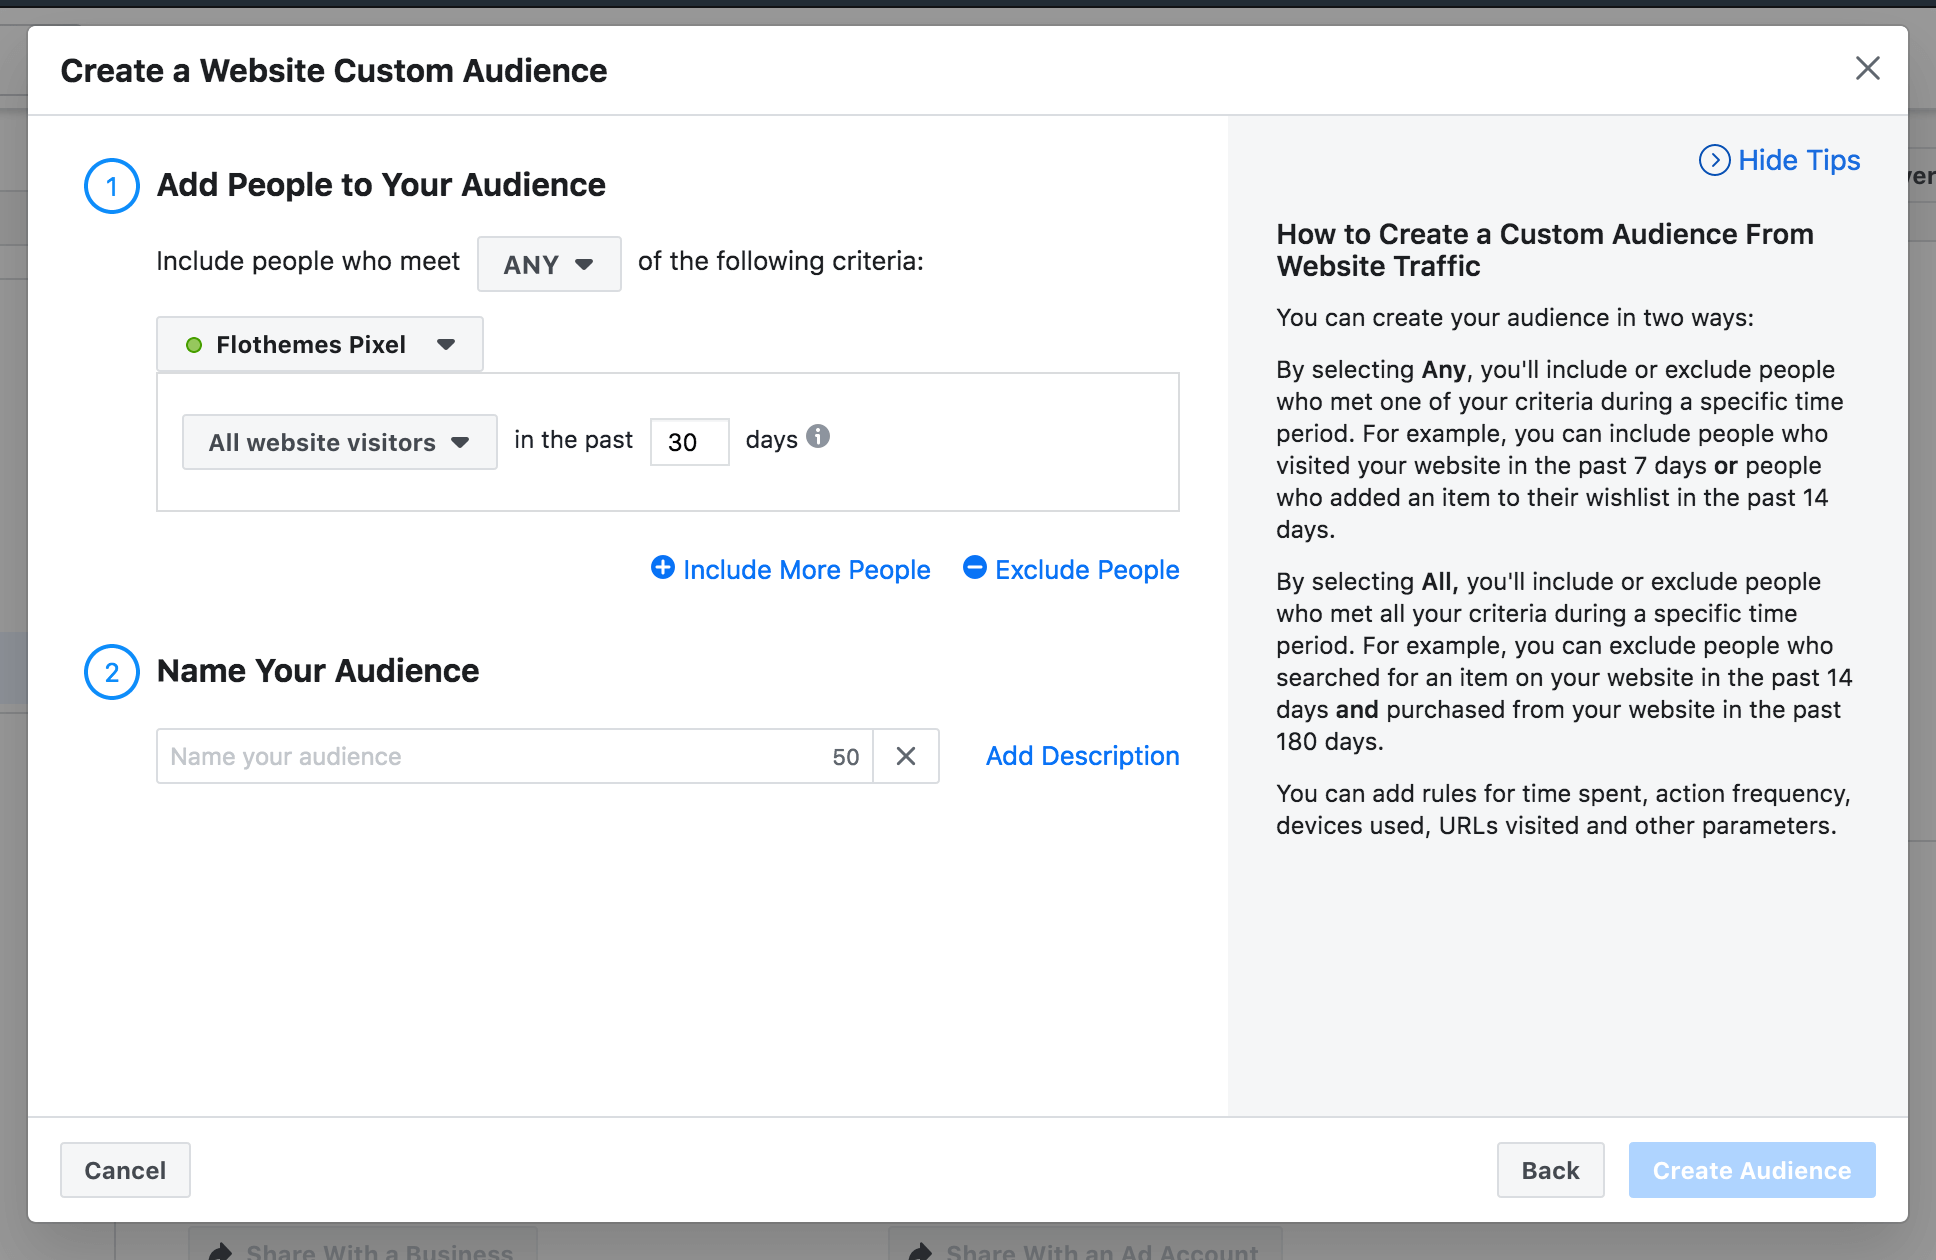
For the second type, the Website Custom Audience Pixel, you will have to go again to your Ads Manager -> Tools, but this time pick Audiences. Afterward, choose Create Audience and the Custom Audience option.

From the pop-up box, you should choose Website Traffic. In the following window, you’ll go ahead and choose the type of Custom Audience you want to track (process described above), and in the left bottom corner, you’ll have to click on the asterisk-typed button for settings and choose the option View Pixel Code.
Use this pixel on all pages you want to track on your website and install it in the same manner as the Conversion Tracking Pixel.
So, now you’re all set up. It may take a while till Facebook gathers all information from your Pixels, but the effect it will have on your ad campaigns is incredible. Test it and share your experience with us!
Adding Facebook Pixel to your site
Adding FB pixels to your site is a simple process. You’ll want to copy the code that was generated for either (or both pixels) and then log into your WordPress website.
Access the Flotheme > Generics > Options panel and paste the code into the Tracking Code placeholder, then update the settings.
