FloForms Mailchimp Integration
The following article explains how to add FloForms Mailchimp integration with our FloForms Plugin. For this extension to work you’ll need to first have installed our FloForms Plugin. Being a FloForms Pro user, you have access to download the plugin from your Flothemes download account as part of your Pronto All-in-One subscription or Pro membership.
You need to create a form first to be able to integrate Mailchimp. How to create forms read here.
Installation
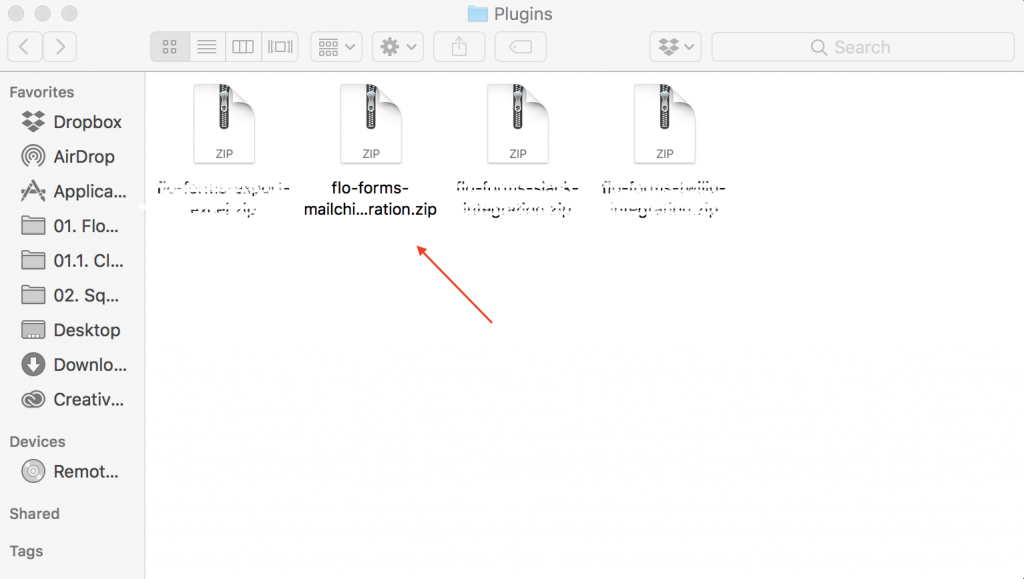
Once downloaded you’ll have a .zip file named Flo Forms Mailchimp Integration.
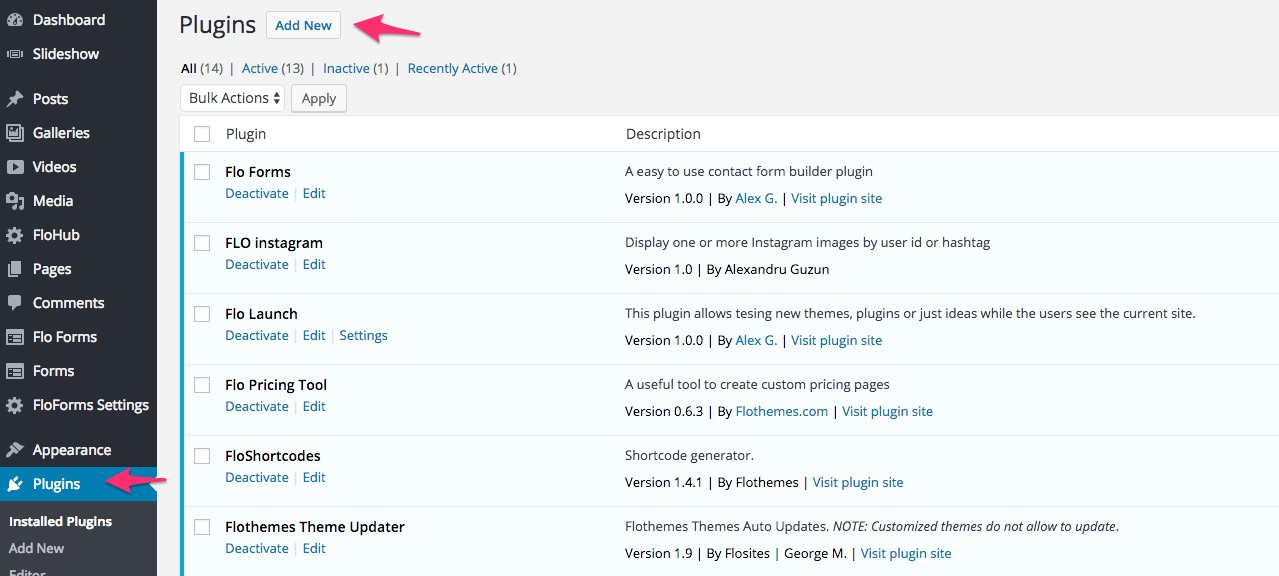
To upload the plugin, go to your WordPress admin panel, go to plugins, and “add new”, then “upload plugin”:
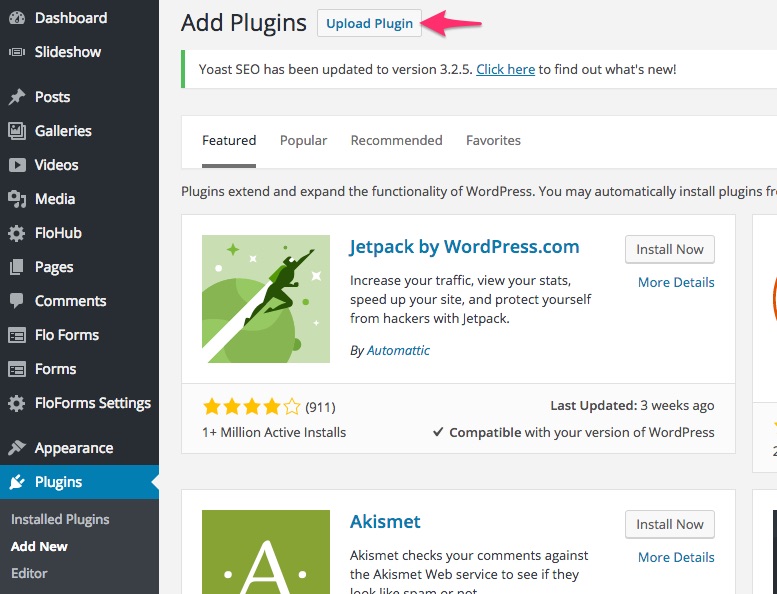
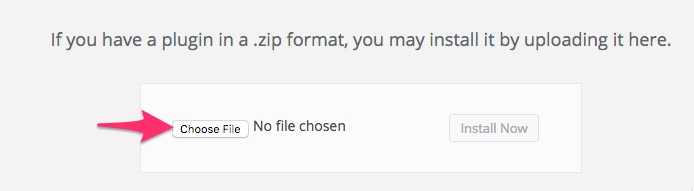
From here you can select your plugin, or drag and drop it into the choose file section, and then hit install now:
Once its uploaded activate the plugin:
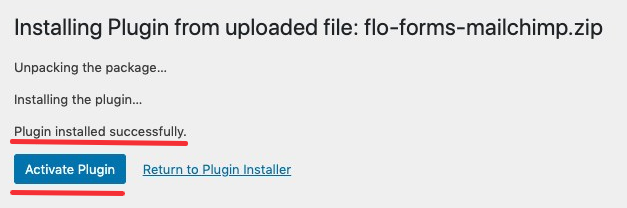
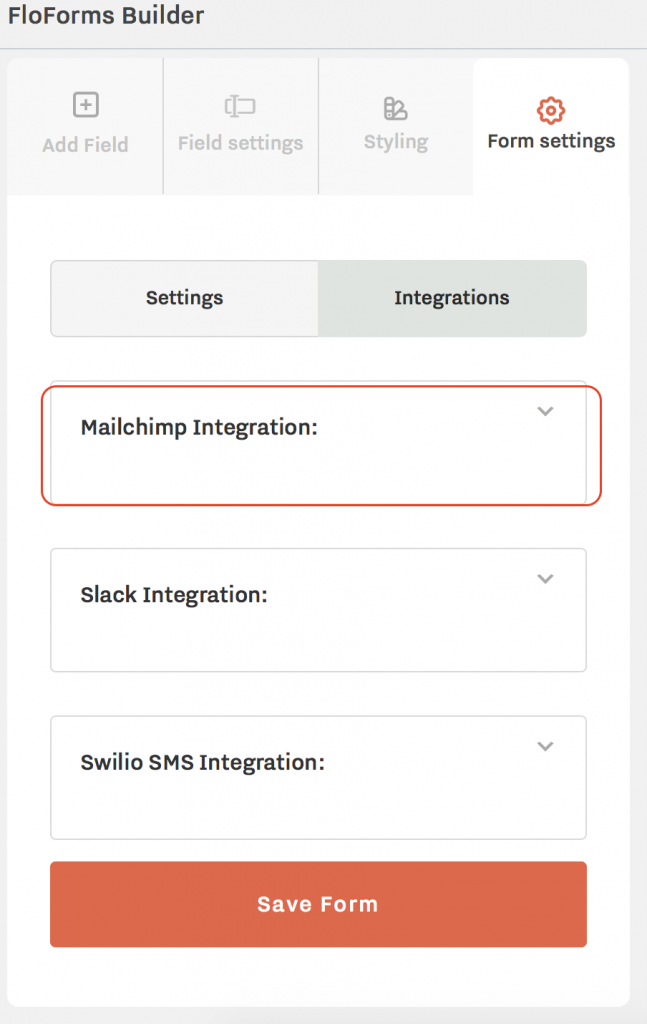
Now the plugin is activated, and you will be able to find it under Form Settings tab -> Integrations tab inside an individual form’s editing page:
Connecting your Mailchimp Account
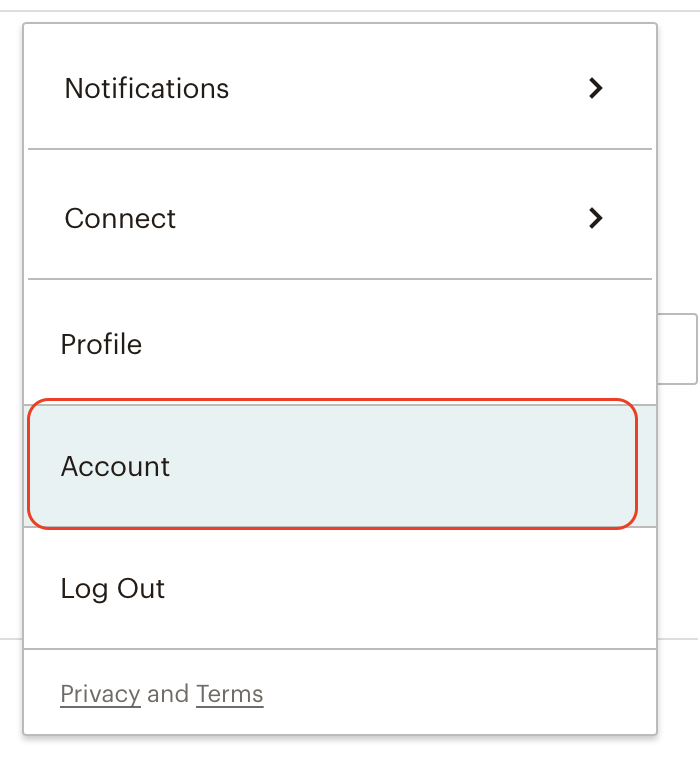
To connect to your Mailchimp account you will need to get your Mailchimp API key. To do that, log in to your Mailchimp Account, click on Avatar from the right side top corner and select Account from the dropdown:
Go to Extras subtab and click on API keys:
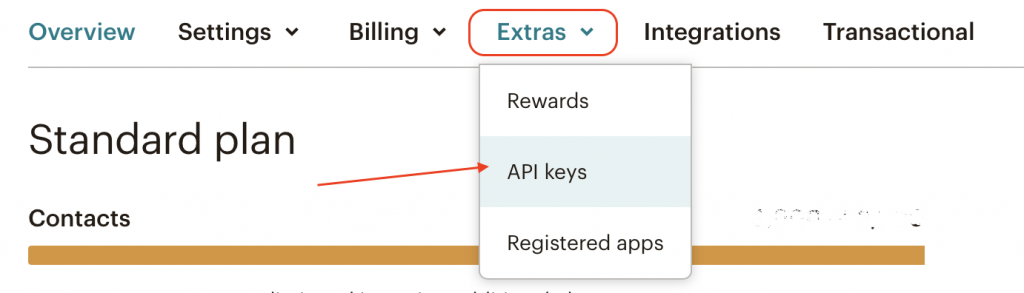
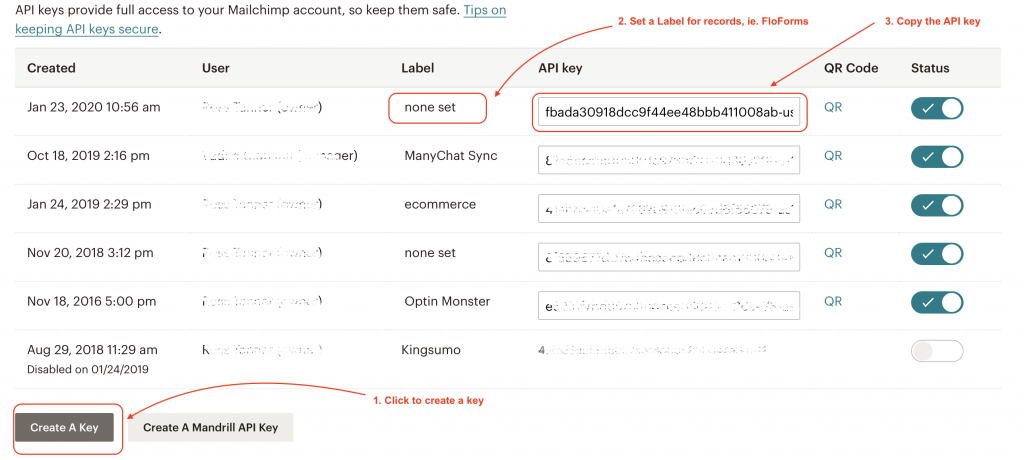
Here you will see a list of all API keys you have used with your account for integrations. Click on Create Key, add a label for your records, ie. FloForms, and copy the API key on the left side as per the screenshot:
Paste the API key in the provided field under Mailchimp integration on your form’s page and click to Connect and Fetch your lists:
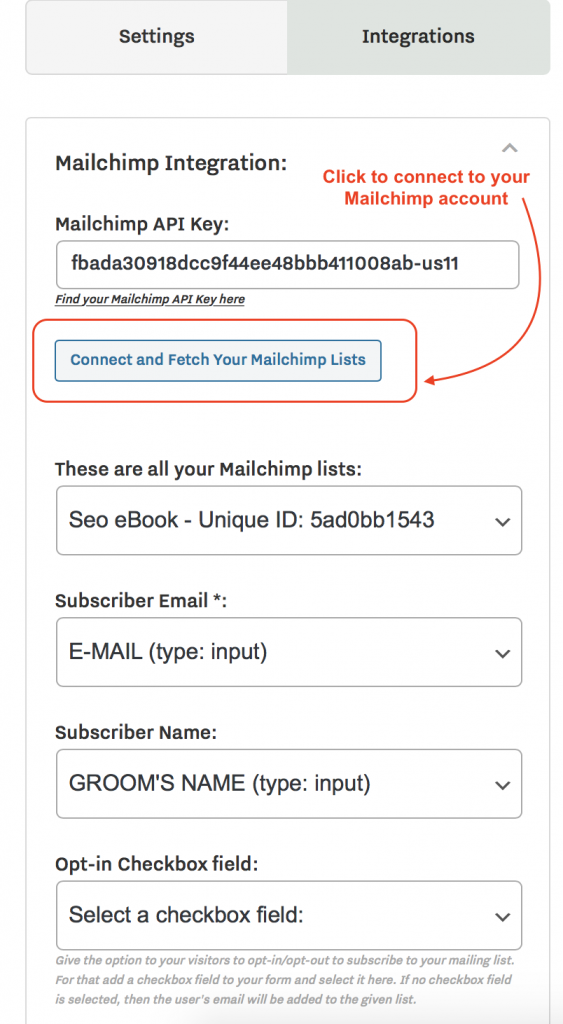
Once you’ve connected your Mailchimp account, you will have the ability to select a list where you want the information to be sent from the form. You will also need to map your FloForm’s form fields with Mailchimp’s form fields. Finally, you can also add an opt-in option for your users. Note, that you will need to add a checkbox field to your form first, and then select it in the Mailchimp integration area as the Opt-in checkbox field. If there is no Checkbox field, then the user will be subscribed without an opt-in confirmation.
Note: As mentioned previously, you need first to create a form and add fields to your Floforms and then connect them as per the screenshot above.
If you want to use the Mailchimp integration for more than one form from the same Mailchimp account, you will need to use the same API key that you’ve created, and go through the process of connecting and fetching your lists as described above.
Possible Issues
If the contact is not being added to the MailChimp list there may be several reasons.
- The Mailchimp Form has a required field that does not have a corresponding mapped field in the Flo Forms.
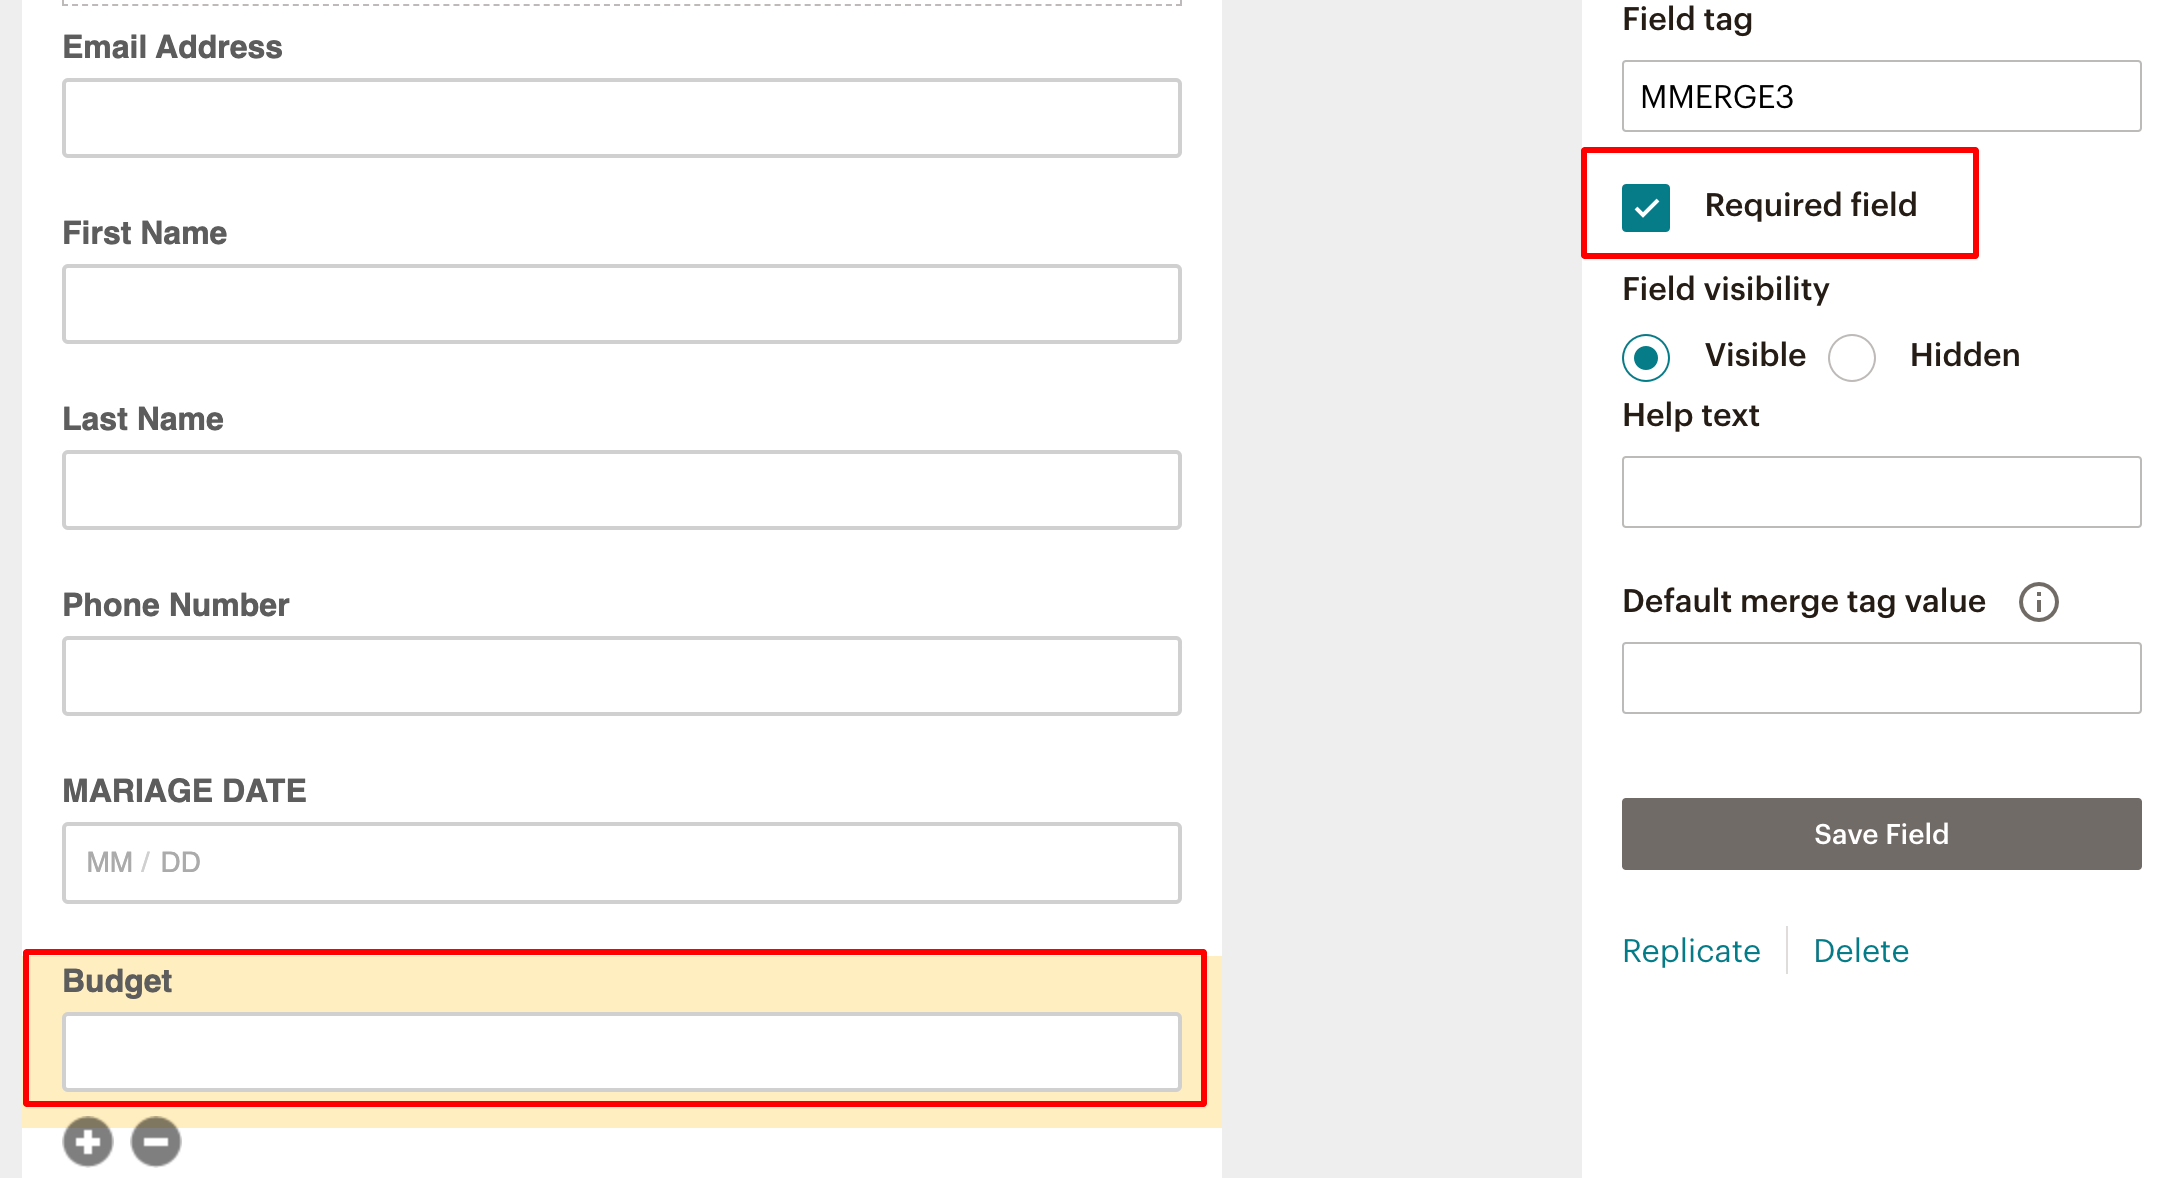 In this case, it is necessary to map a Flo Form field to the corresponding MailChimp field and make it a required field.
- The MailChimp form has radio buttons or checkboxes fields, and the field values do not correspond with the values on your Flo Forms mapped fields. In this case, it is necessary to make sure the values are exactly the same, or simply do not map those problematic fields
- To see the response message from the last request to MailChimp, add the ‘&flo_mailchimp_debug=1’ parameter to the URL when editing a Flo Form in the backend.